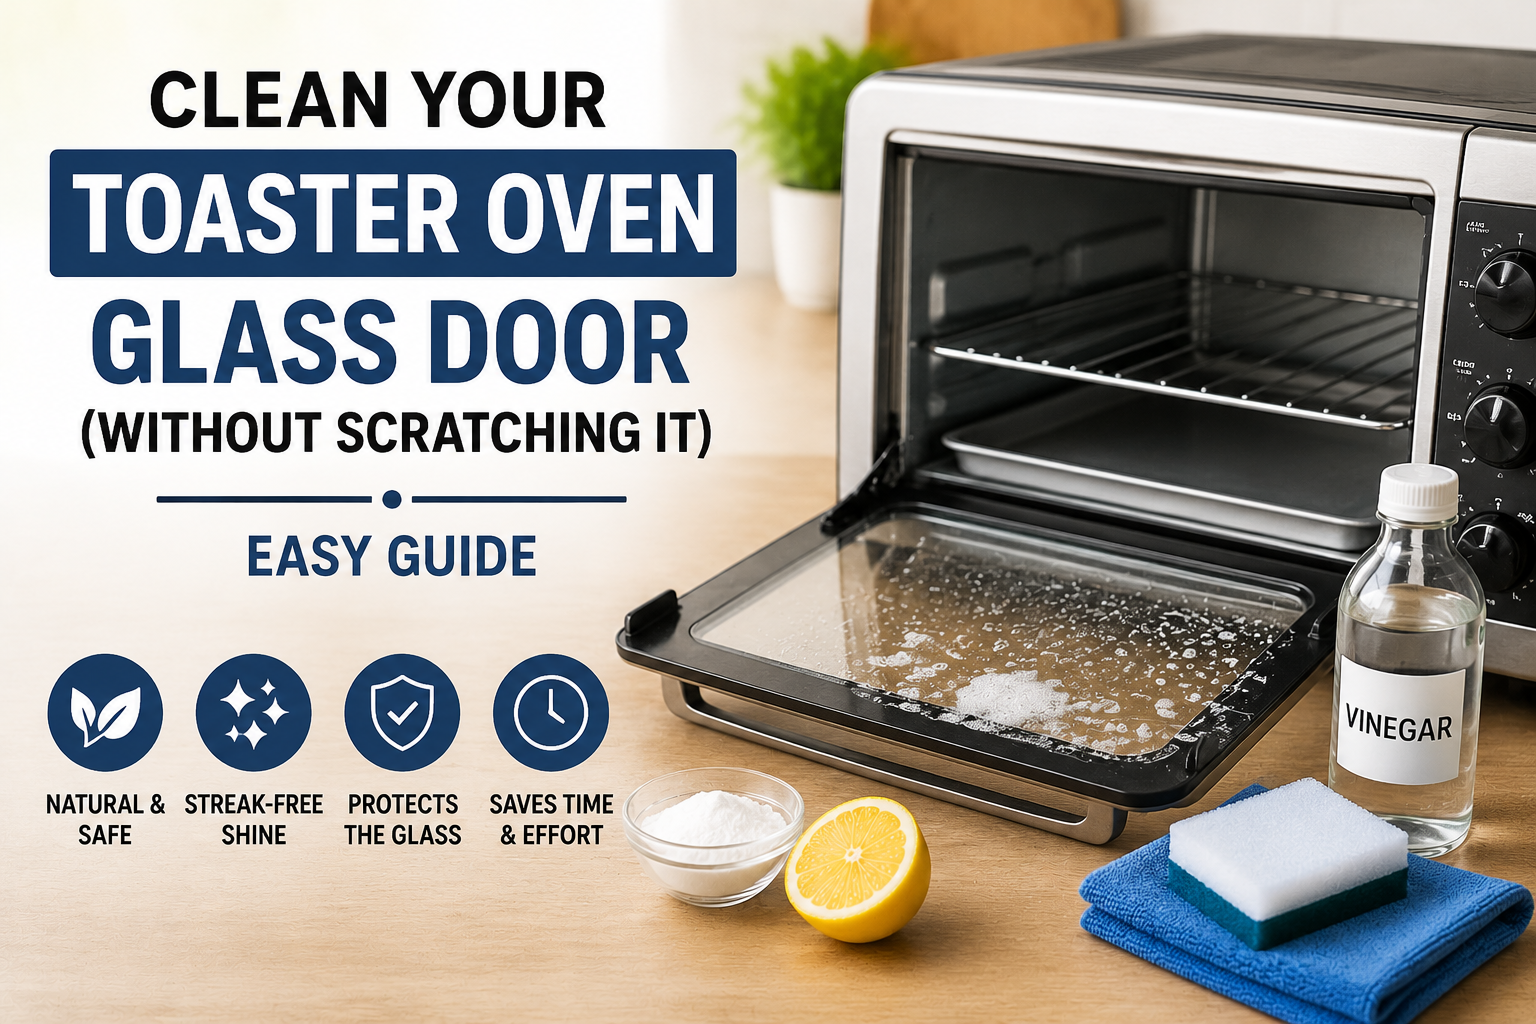
Clean Your Toaster Oven Glass Door
Toaster ovens earn their keep, but they get dirty fast. Grease splatters on the glass door, crumbs burn on the bottom, and baked-on residue builds up inside before you know it. Leave it too long and you’re dealing with smoke, lingering odors, uneven cooking — and yes, even a fire risk.
Here’s how to properly clean your toaster oven, glass door and crumb tray included, using safe natural methods.
Why It’s Worth Staying On Top Of
A dirty toaster oven isn’t just unsightly — it actually affects how it performs:
- Taste and smell — old grease and burnt crumbs pass bad flavors onto your food.
- Hygiene — crumbs sitting inside are a breeding ground for bacteria and mold.
- Cooking performance — buildup causes uneven heating and longer cook times.
- Visibility — a greasy, stained glass door makes it hard to actually see what’s cooking.
- Fire safety — built-up grease and crumbs are a genuine fire hazard, not just a cleanliness issue.
- Appliance lifespan — the heating elements work harder than they should, and wear out sooner.
Signs It Needs Cleaning
Keep an eye out for:
- Smoke while it’s running
- A burnt or off smell
- Food sticking to the rack
- A cloudy or stained glass door
- Cooking taking longer than usual
- Crumbs burning and smoking in the tray
Any of these means it’s time to stop and clean rather than push through another use.
How Often You Should Clean It
- Daily or heavy use: wipe down every 2–3 uses, deep clean once a week.
- 4–5 times a week: light clean every 3–4 uses, deep clean weekly.
- Cooking oily or messy food often: wipe after every use, deep clean twice a week.
- Occasional use: once every 10–14 days is usually fine.
What You’ll Need
- Warm water and a grease-cutting dish soap
- Baking soda — a gentle abrasive for stubborn baked-on stains
- White vinegar — breaks down grease and neutralizes odors (apple cider vinegar works too)
- Fresh lemon or lemon juice for a natural deodorizing boost
- A soft, non-abrasive sponge or microfiber cloth (safe for the glass door)
- An old toothbrush for corners, racks, and around the heating elements
- Paper towels for quick crumb cleanup
Step-by-Step Cleaning Guide
- Unplug it and let it cool completely (20–30 minutes). Never clean it while it’s still warm.
- Remove the crumb tray, rack, and any removable parts, and empty out the crumbs first.
- Wipe out loose crumbs from inside using a paper towel or brush.
- Clean the glass door with a baking soda paste — this is the part most people get wrong by scrubbing too hard.
- Clean the interior walls and heating elements, being gentle around the elements themselves.
- Clean the crumb tray, soaking it first if it’s heavily soiled.
- Wipe down the exterior with a damp cloth.
- Dry everything thoroughly before putting it back together — air dry or use a microfiber cloth.
For Heavier Buildup
- Baking soda + vinegar paste: apply, let sit 15–20 minutes, then wipe — very effective on the glass door and interior.
- Overnight soak for the crumb tray: hot water and dish soap, left 6–8 hours if it’s really neglected.
- Lemon steam method: lemon slices in hot water, left in the oven for about 10 minutes — good for stubborn odors specifically, though only moderately effective on grease itself.
Mistakes to Avoid
- Using abrasive scrubbers on the glass — this scratches it permanently. Stick to a soft sponge or microfiber cloth.
- Spraying water directly on the heating elements — always use a damp cloth instead, never a direct spray.
- Skipping the crumb tray — leftover crumbs keep burning and smoking every time you use it.
- Using harsh oven cleaners — they damage both the interior and the glass. Natural or mild cleaners only.
- Cleaning it while still hot — you risk burns, and the cleaning itself won’t be as effective anyway.
Preventing Buildup
- Empty and wipe the crumb tray after every use — this alone prevents most smoke issues.
- Line the tray with aluminum foil or parchment paper when baking or toasting messier foods.
- Give the glass door a quick wipe weekly before grease has a chance to bake on.
- Avoid overfilling it or cooking especially messy foods without protection underneath.
- Do a proper deep clean once a week to keep everything running well.
Cleaning Different Toaster Oven Types
- Non-stick interior: easiest to maintain — soft sponge and natural cleaners, nothing abrasive.
- Stainless steel: can handle a bit more scrubbing pressure than non-stick.
- Removable crumb tray: makes life much easier — just pull it out and clean it separately.
- Glass door models (the most common type): the baking soda + vinegar method is your best friend here.
Frequently Asked Questions
How do I clean the glass door without scratching it? Use a baking soda paste with a soft, non-abrasive sponge. Skip steel wool or anything abrasive entirely.
Why does my toaster oven smoke? Almost always burnt crumbs and grease buildup. Regular cleaning of the crumb tray and interior fixes this.
Can the crumb tray go in the dishwasher? Many are dishwasher safe, but check your model’s manual first — hand washing tends to be gentler and extends its life.
How do I get rid of stubborn burnt spots inside? A thick baking soda paste left for 15–20 minutes, then gently scrubbed. Repeat if the first pass doesn’t fully lift it.
Is vinegar safe to use inside? Yes — used as a spray and wiped off properly afterward, it’s both safe and effective.
How do I clean the heating elements safely? Only with a slightly damp cloth, once the oven is completely cool. Never spray water or cleaner directly on them.
How often should I actually deep clean it? Once a week for regular use. Twice a week if you’re cooking oily or messy food often.
Final Thoughts
Keeping your toaster oven clean — glass door and crumb tray especially — makes a real difference in food quality, safety, and how long the appliance lasts. Baking soda and vinegar do most of the heavy lifting here, and they’re safe, effective, and already sitting in most kitchens.
Stay on top of it weekly, and it’ll keep performing (and looking) the way it should for years.
I tested these methods on my own toaster oven — the baking soda and vinegar combination worked best for both the baked-on grease on the glass door and the stubborn crumbs inside.
About the Author: KitchenBite Team — we create practical, tested kitchen cleaning guides focused on safe and natural methods.
Last updated: July 13, 2026
Disclaimer: The cleaning methods in this article are for informational purposes only. Always follow your toaster oven manufacturer’s care instructions. We’re not responsible for any damage caused by using these methods — use at your own risk.