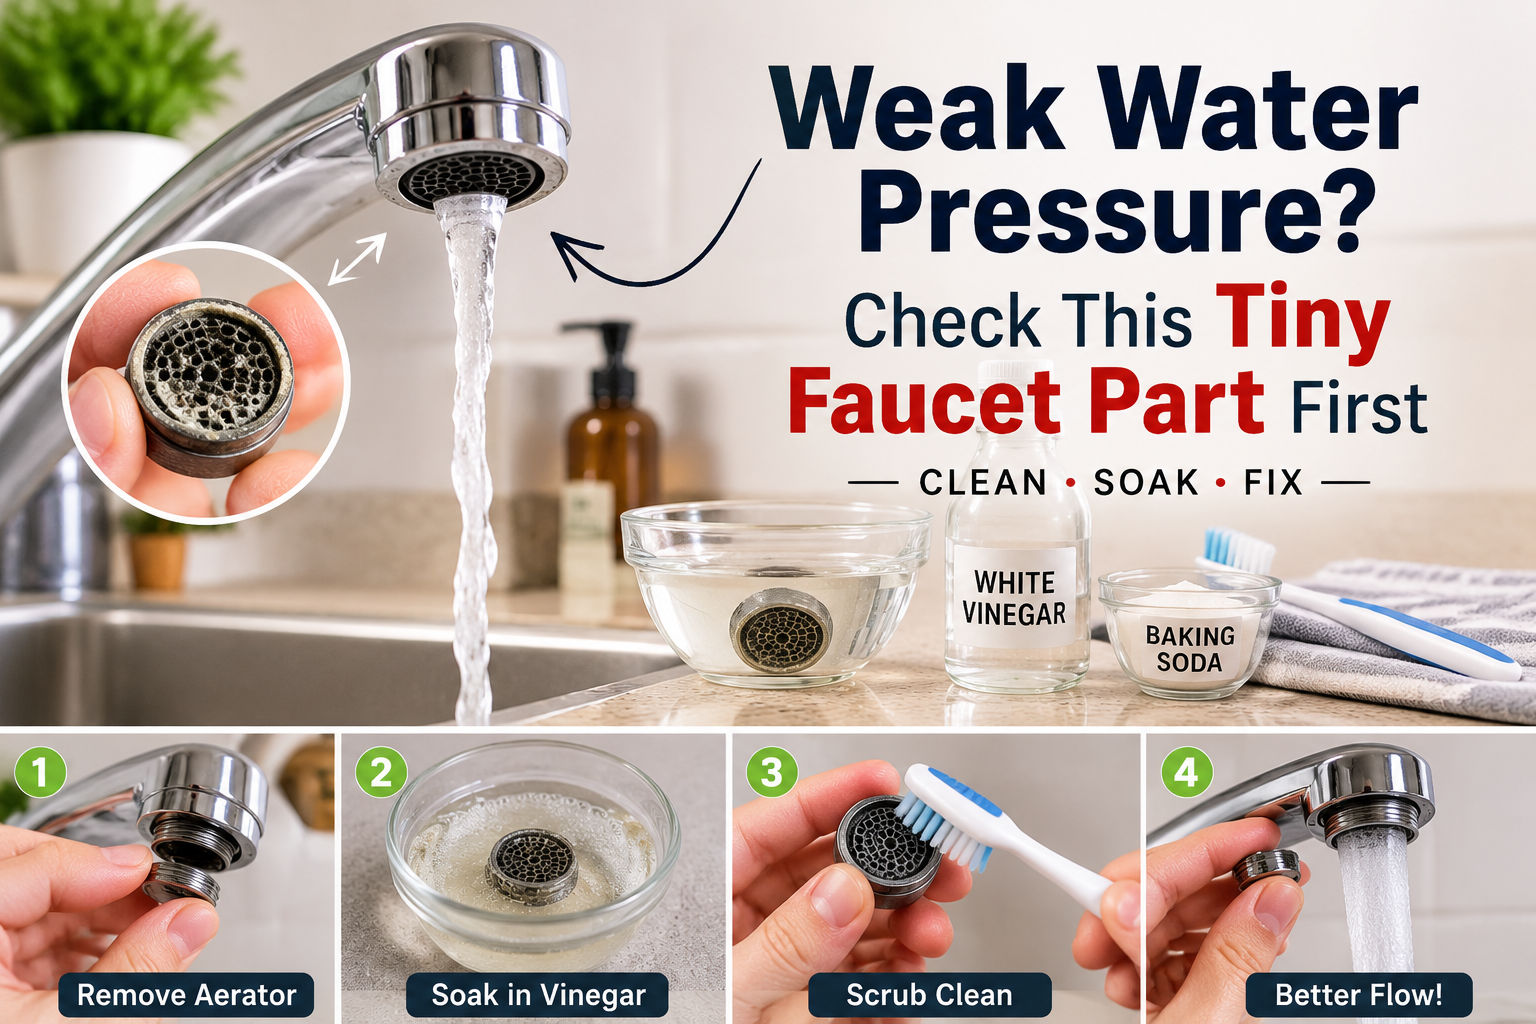
The tiny faucet aerator is one of those parts you never think about — a small screen at the tip of your faucet that mixes air into the water for a smooth, splash-free stream while also saving water. But in hard water areas especially, it quietly fills up with limescale, dirt, rust, and debris over time.
After testing different cleaning methods across various kitchen faucets over the past few years, I’ve found that regular aerator maintenance makes a real difference to both water flow and how long the faucet lasts. Here’s how to clean it properly using natural methods that actually work.
Why Bother Cleaning It
- Water flow and pressure — clogging leads to reduced, uneven pressure that’s hard to ignore.
- Water quality — bacteria and debris can quietly build up inside over time.
- Faucet performance — poor air-water mixing means splashing instead of a clean stream.
- Faucet lifespan — mineral buildup can damage internal components if left unchecked.
- Hygiene — limescale and rust deposits create conditions bacteria can grow in.
- Water efficiency — poor flow often means longer usage times and more water wasted overall.
What a Dirty Aerator Actually Causes
- Weak water pressure, from limescale and debris blocking the flow
- Uneven or spraying water, from partial blockages in the aerator holes
- Cloudy or discolored water, usually rust or dirt buildup
- Wasted water, since poor air-water mixing often means longer run times
- Bacterial growth, from moisture and debris trapped inside
- Long-term faucet damage, from continuous mineral buildup
Signs It Needs Cleaning
- Weak or uneven water flow
- Water spraying in odd directions
- Cloudy or discolored water
- Noticeably reduced pressure
- Visible white or brown buildup around the aerator
How Often to Clean It
- Very hard water: every 4–6 weeks — genuinely necessary at this point.
- Hard water: every 6–8 weeks.
- Moderate water: every 2–3 months.
- Soft water: every 3–4 months is usually enough.
What You’ll Need
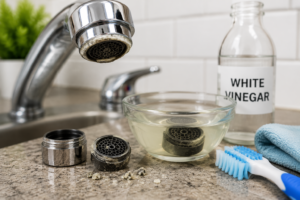
- Pliers or a wrench to remove the aerator safely — wrap a cloth around it first to avoid scratching the faucet finish.
- White vinegar — the most effective natural descaler I’ve found for limescale.
- Baking soda for gentle scrubbing and stain removal.
- An old toothbrush for the small holes and crevices — genuinely essential here.
- Warm water for rinsing.
- A microfiber cloth for drying without leaving lint.
- A small bowl or container for soaking the aerator.
Step-by-Step Cleaning Guide
- Turn off the water supply. Always start here, before touching anything.
- Unscrew the aerator from the faucet, using a cloth with your pliers to avoid scratching the finish.
- Soak it in white vinegar for 30–60 minutes. For heavy buildup, an overnight soak works even better.
- Scrub gently with an old toothbrush, making sure to clean out every small hole thoroughly.
- Rinse well under running water until you’re sure all debris is gone.
- Reattach the aerator — hand tighten first, then secure gently with pliers if needed.
- Turn the water back on and check the flow to make sure everything’s running smoothly and evenly.
Cleaning It Without Removing It (Quick Method)
If you’re short on time or don’t want to unscrew anything:
- Vinegar soak: tie a vinegar-soaked cloth or plastic bag around the aerator and leave it — good for light to moderate cleaning.
- Brushing: dip an old toothbrush in vinegar and scrub the holes directly — works well for surface dirt and light scale.
- Flushing: run the water at full force for 30–60 seconds to loosen minor debris.
Best Natural Cleaners for This Job
- White vinegar — excellent for mineral deposits and limescale, used as a soak or scrub.
- Citric acid — just as strong for heavy limescale, dissolved in water and soaked.
- Lemon juice — good for light scale and leaves a fresh smell.
- Baking soda — best for surface stains and mild buildup rather than heavy scale.
Mistakes to Avoid
- Harsh chemical cleaners — they can damage the aerator or faucet finish. Vinegar and other natural methods work just as well.
- Over-tightening on reinstall — this can damage the threads. Hand tighten first, then use pliers gently if needed.
- Skipping the rinse — leftover vinegar taste or residue lingers in the water otherwise.
- Letting cleaning slide too long — buildup that’s left alone gets significantly harder to remove.
- Using metal scrubbers — they scratch both the aerator and the faucet. Soft toothbrush or cloth only.
Preventing Buildup
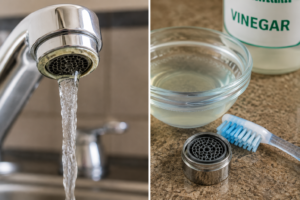
- Clean the aerator every 1–2 months to stay ahead of heavy mineral buildup.
- Use a water filter if you can — it noticeably reduces minerals in the water reaching the aerator.
- Wipe the aerator after use to prevent surface staining from forming in the first place.
- Check your water hardness occasionally — it’s the main thing that determines how often you actually need to clean.
- Avoid leaving standing water sitting in the aerator when possible.
Frequently Asked Questions
How often should I clean my faucet aerator? Every 1–2 months is ideal, especially with hard water. Soft water areas can often get away with every 3–4 months.
Can I clean it without removing it? Yes — soak a cloth or plastic bag in vinegar, tie it around the aerator for 30–60 minutes, then scrub gently with a toothbrush.
What causes the white buildup? Almost always limescale from hard water. Regular vinegar cleaning prevents and removes it effectively.
Is vinegar safe for all faucet types? Generally yes, though it’s worth avoiding on natural stone or certain delicate finishes. When in doubt, test on a small area first.
How do I remove really stubborn limescale? Soak the aerator in white vinegar or a citric acid solution for several hours (overnight if needed), then scrub gently with a toothbrush.
Can I use baking soda instead of vinegar? It’s good for surface stains but not as effective on heavy limescale alone. It works best paired with vinegar rather than used on its own.
Why is my water flow still weak after cleaning? There may be a deeper clog elsewhere in the faucet or pipes. It’s worth checking the faucet cartridge, or calling a plumber if the issue persists.
Final Thoughts
After testing this across several faucets, a regular vinegar-based cleaning schedule consistently gives the best results for removing limescale from the aerator. It restores water flow, keeps things hygienic, and helps the faucet run efficiently for longer.
I tested the vinegar soaking method on multiple kitchen faucets, and it consistently restored water flow without any damage to the aerator or faucet finish.
About the Author KitchenBite Team — practical kitchen cleaning guides based on real testing and experience.
Last updated: July 13, 2026
Disclaimer: The cleaning methods in this article are for informational purposes only. Always follow your faucet manufacturer’s care instructions. We’re not responsible for any damage caused by using these methods — use at your own risk.